- Login to your Gmail Account.
- In the top lefthand corner, open the Settings cog and choose Settings.
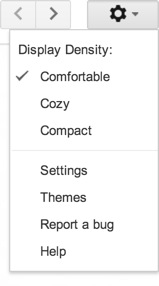
- Click Accounts and Import.
- Click 'Add a POP3 mail account you own".
- Enter your Email address.
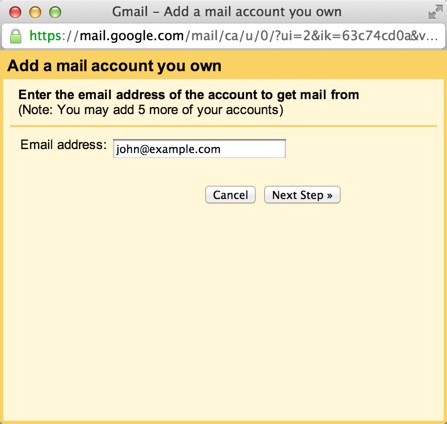
- Click the Next button.
- Enter your full email address as the Username.
- Enter Password for your email account.
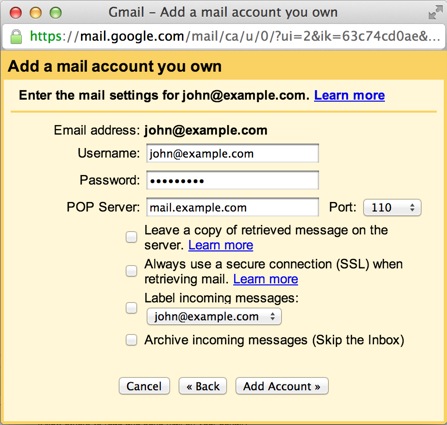
- Enter the POP Server. This will vary depending on if you choose to use the Always use a secure connection (SSL) optionChoose any additional options you may want.
- Without SSL: This will be your domain name preceded by "mail."
- With SSL: This will be your servers hostname. Also make sure the port is changed to 995. If you don't know your servers hostname, go to your cpanel. On the left side you will see a section called stats. Click the expand stats link if it is present. The hostname will be shown in the list of stats.
- Click the Add Account button.
Outgoing Mail (SMTP)
- Choose " Yes, I want to be able to send mail as john@example.com"
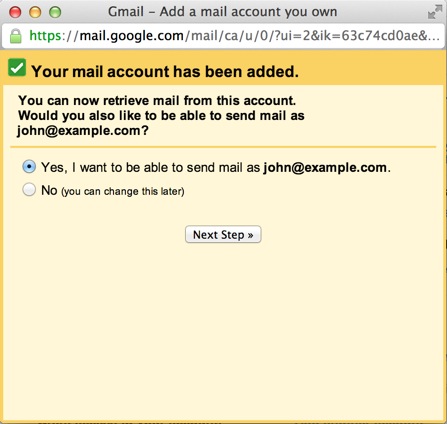
- Choose if you will use this address as an Alias.
To learn more about Aliases in Gmail please see Googles Knowledge Base Article
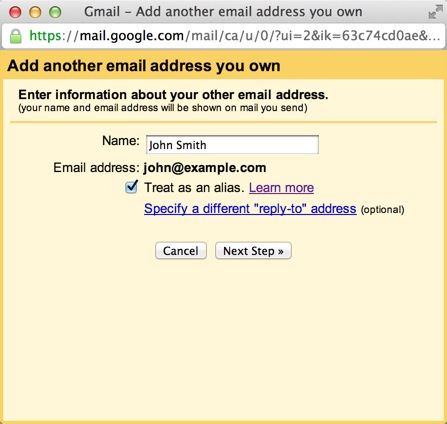
- Click the Add account button.
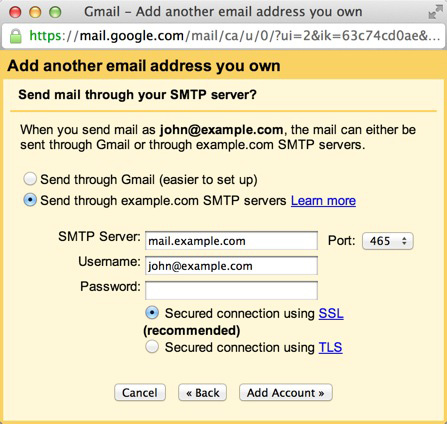
- Choose to send "Send through example.com SMTP server"
- Enter the SMTP Server.Enter your full email address as the Username.
- Without SSL: This will be your domain name preceded by "mail."
- With SSL: This will be your servers hostname. If you don't know your servers hostname, go to your cpanel. On the left side you will see a section called stats. Click the expand stats link if it is present. The hostname will be shown in the list of stats.
- Enter Password for your email account.
- Choose Port 25 (Non SSL) or 465 (SSL).